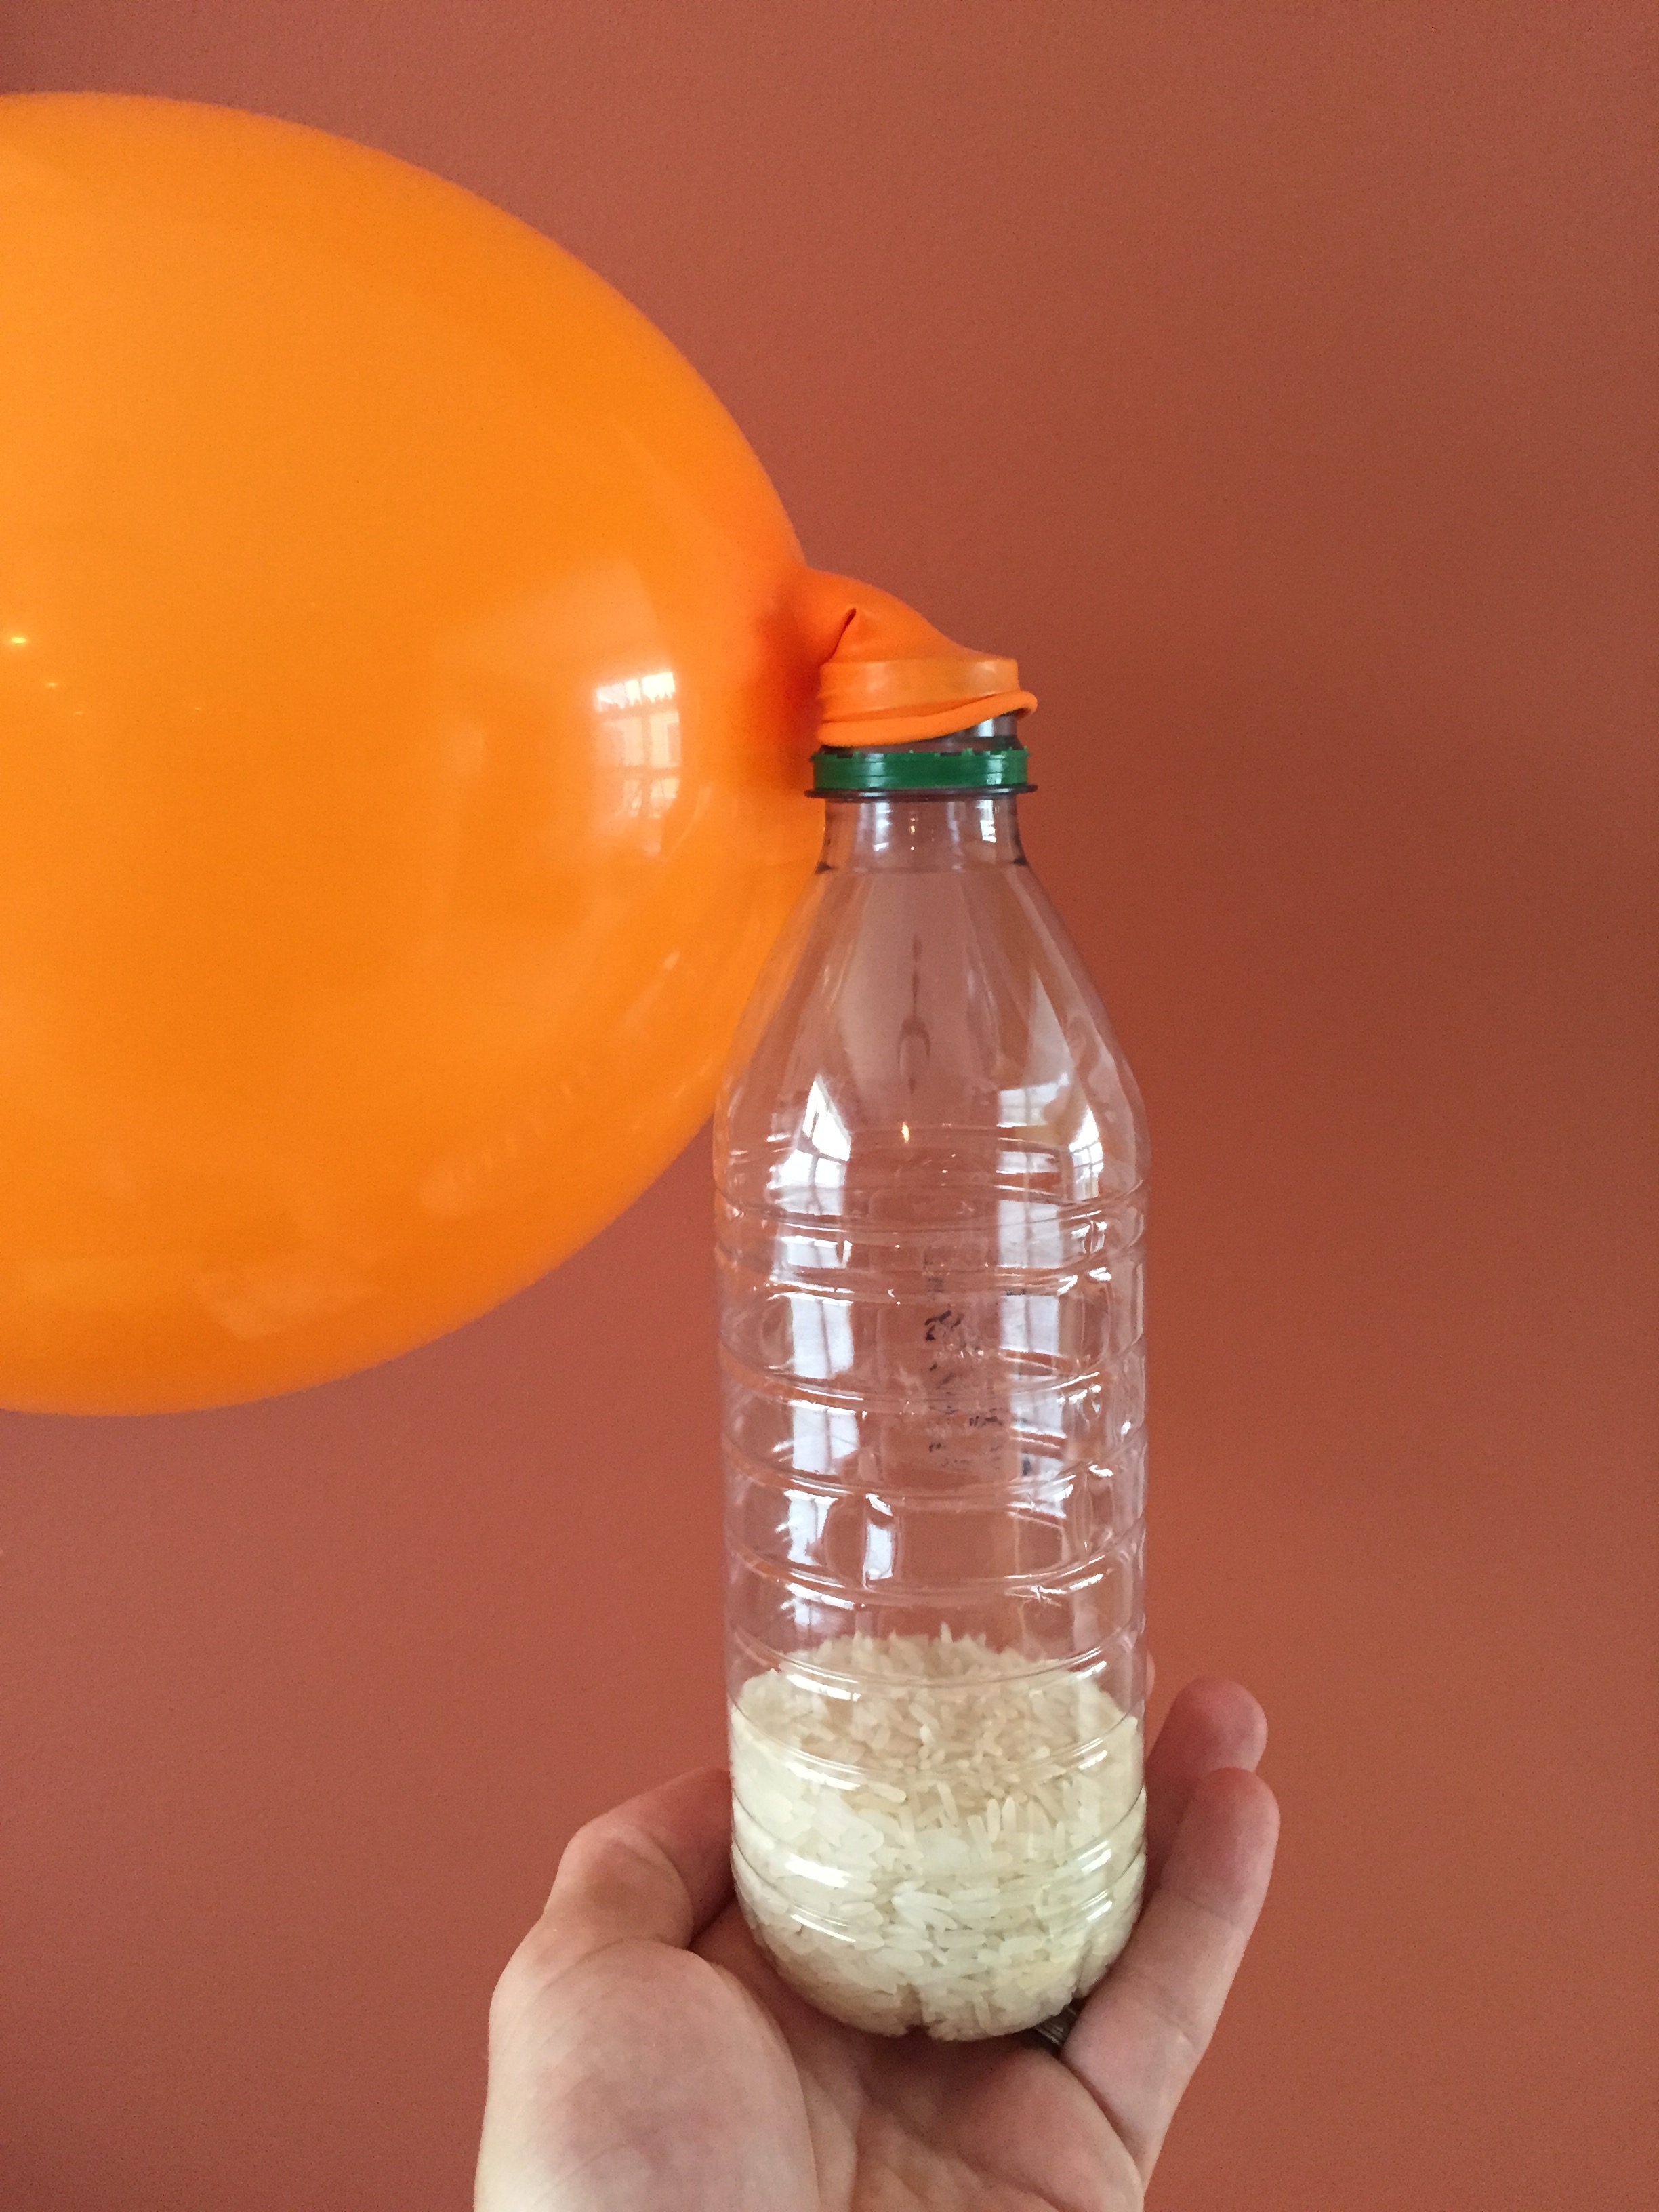
My kids are finally taking an interest in learning how to juggle. They’ve always loved throwing balls around whenever I practice, but they’ve never been interested in practicing the proper techniques until now. The problem is, my favorite juggling balls, the MMX Plus, are too heavy and large for their tiny hands. Instead of buying smaller balls or hacky sacks, I used plans from juggler.org to make several kid-friendly balls. This worked perfectly because I wanted to practice with them while their interest and excitement was high, and together we were able to crank out several balls in about 15 minutes. All you need to make your own juggling balls are balloons, tape, an empty water or soda bottle, and some filler (bird seed, sand, or rice). We used rice and the balls turned out great. Ok, kids, time to practice!
Forget Elf on a Shelf. Leprechauns are the original mischievous pranksters. Take Lucky—when he’s not cobbling shoes or hiding gold treasure, you can bet he’s out there playing tricks on unsuspecting citizens. One year, he turned most everything in our family room upside down. We knew it had to be him because the inside of our toilet bowls were suspiciously bright green!
Marshmallow charms and other treasure.
While his presence can be annoying, it does have its advantages. You see, Lucky never hides his entire treasure at the end of a rainbow. He always reserves a few gold coins and some Lucky Charms to hide for the kids. I think he does this to mess with the Easter Bunny, but that’s just my theory.
Lucky can stop by your house this year, too! Just grab some Lucky Charms and carefully cut him out of the box. I made a stand for mine by decorating a cardboard toilet paper tube and taping him to the inside edge.
Pick out some of the marshmallow charms (they’re magically delicious!) and make some little treasure bags to hide on St. Patrick’s Day before Lucky’s grand appearance. Sure, the kids will notice that he’s missing from the box long before then, but that will just add to the suspense.
Where did he go?
For wee little ones, try leaving some rainbow streamers or a trail of clover confetti leading to your treasures to make them easier to find. Remember, you don’t have to make a daily commitment with this like you do Elf on a Shelf, though you certainly could if you’re into that. The investment is basically nil, especially if anyone in your family enjoys eating Lucky Charms! If Lucky visits your home, please send some photos my way so I can post them here!
Sometimes being trapped indoors can inspire some great bouts of creative play. Last Saturday was one of those days. The temperature was in the negatives, a storm that locals were already calling the wrath of Elsa was headed our way, and we weren’t about to go anywhere. I was in need of some indoor activities to occupy both the kids and myself, so I turned to the ever-growing stash of cardboard paper towel and toilet paper tubes that I’ve been saving. There never has been a real plan for this pile of trash, but I clung to the idea that eventually I’d think of something fun to do with them. A marble wall run turned out to be the perfect idea for a day of inside play.
With a scant plan in place, we excitedly grabbed our cardboard tubes and painter’s tape and went to town securing tubes to the wall. The next time we try this, we’ll definitely start by sketching out a detailed plan on paper, but sometimes it’s just more fun to jump right in.
If you’re working with a combination of clumsy hands and walls that you’d rather not wreck, I suggest using FrogTape Delicate Surface. Its adhesion is not as great as other tape, but it won’t peel off your wall paint either. If you’re not too concerned with your wall’s well-being, then any painter’s tape should do the job.
In order to keep young minds interested, work backwards and be sure to do LOTS of testing each step of the way. We used a bell that came with a board game so we could hear a satisfying ding at the end of every successful run. If you don’t have a bell, try finding something else that makes a fun sound, like a toy xylophone or drum, or even a tin can.
The rest of the build is pretty straight forward and limited only by your imagination, although you won’t get very far without having to do some problem-solving.
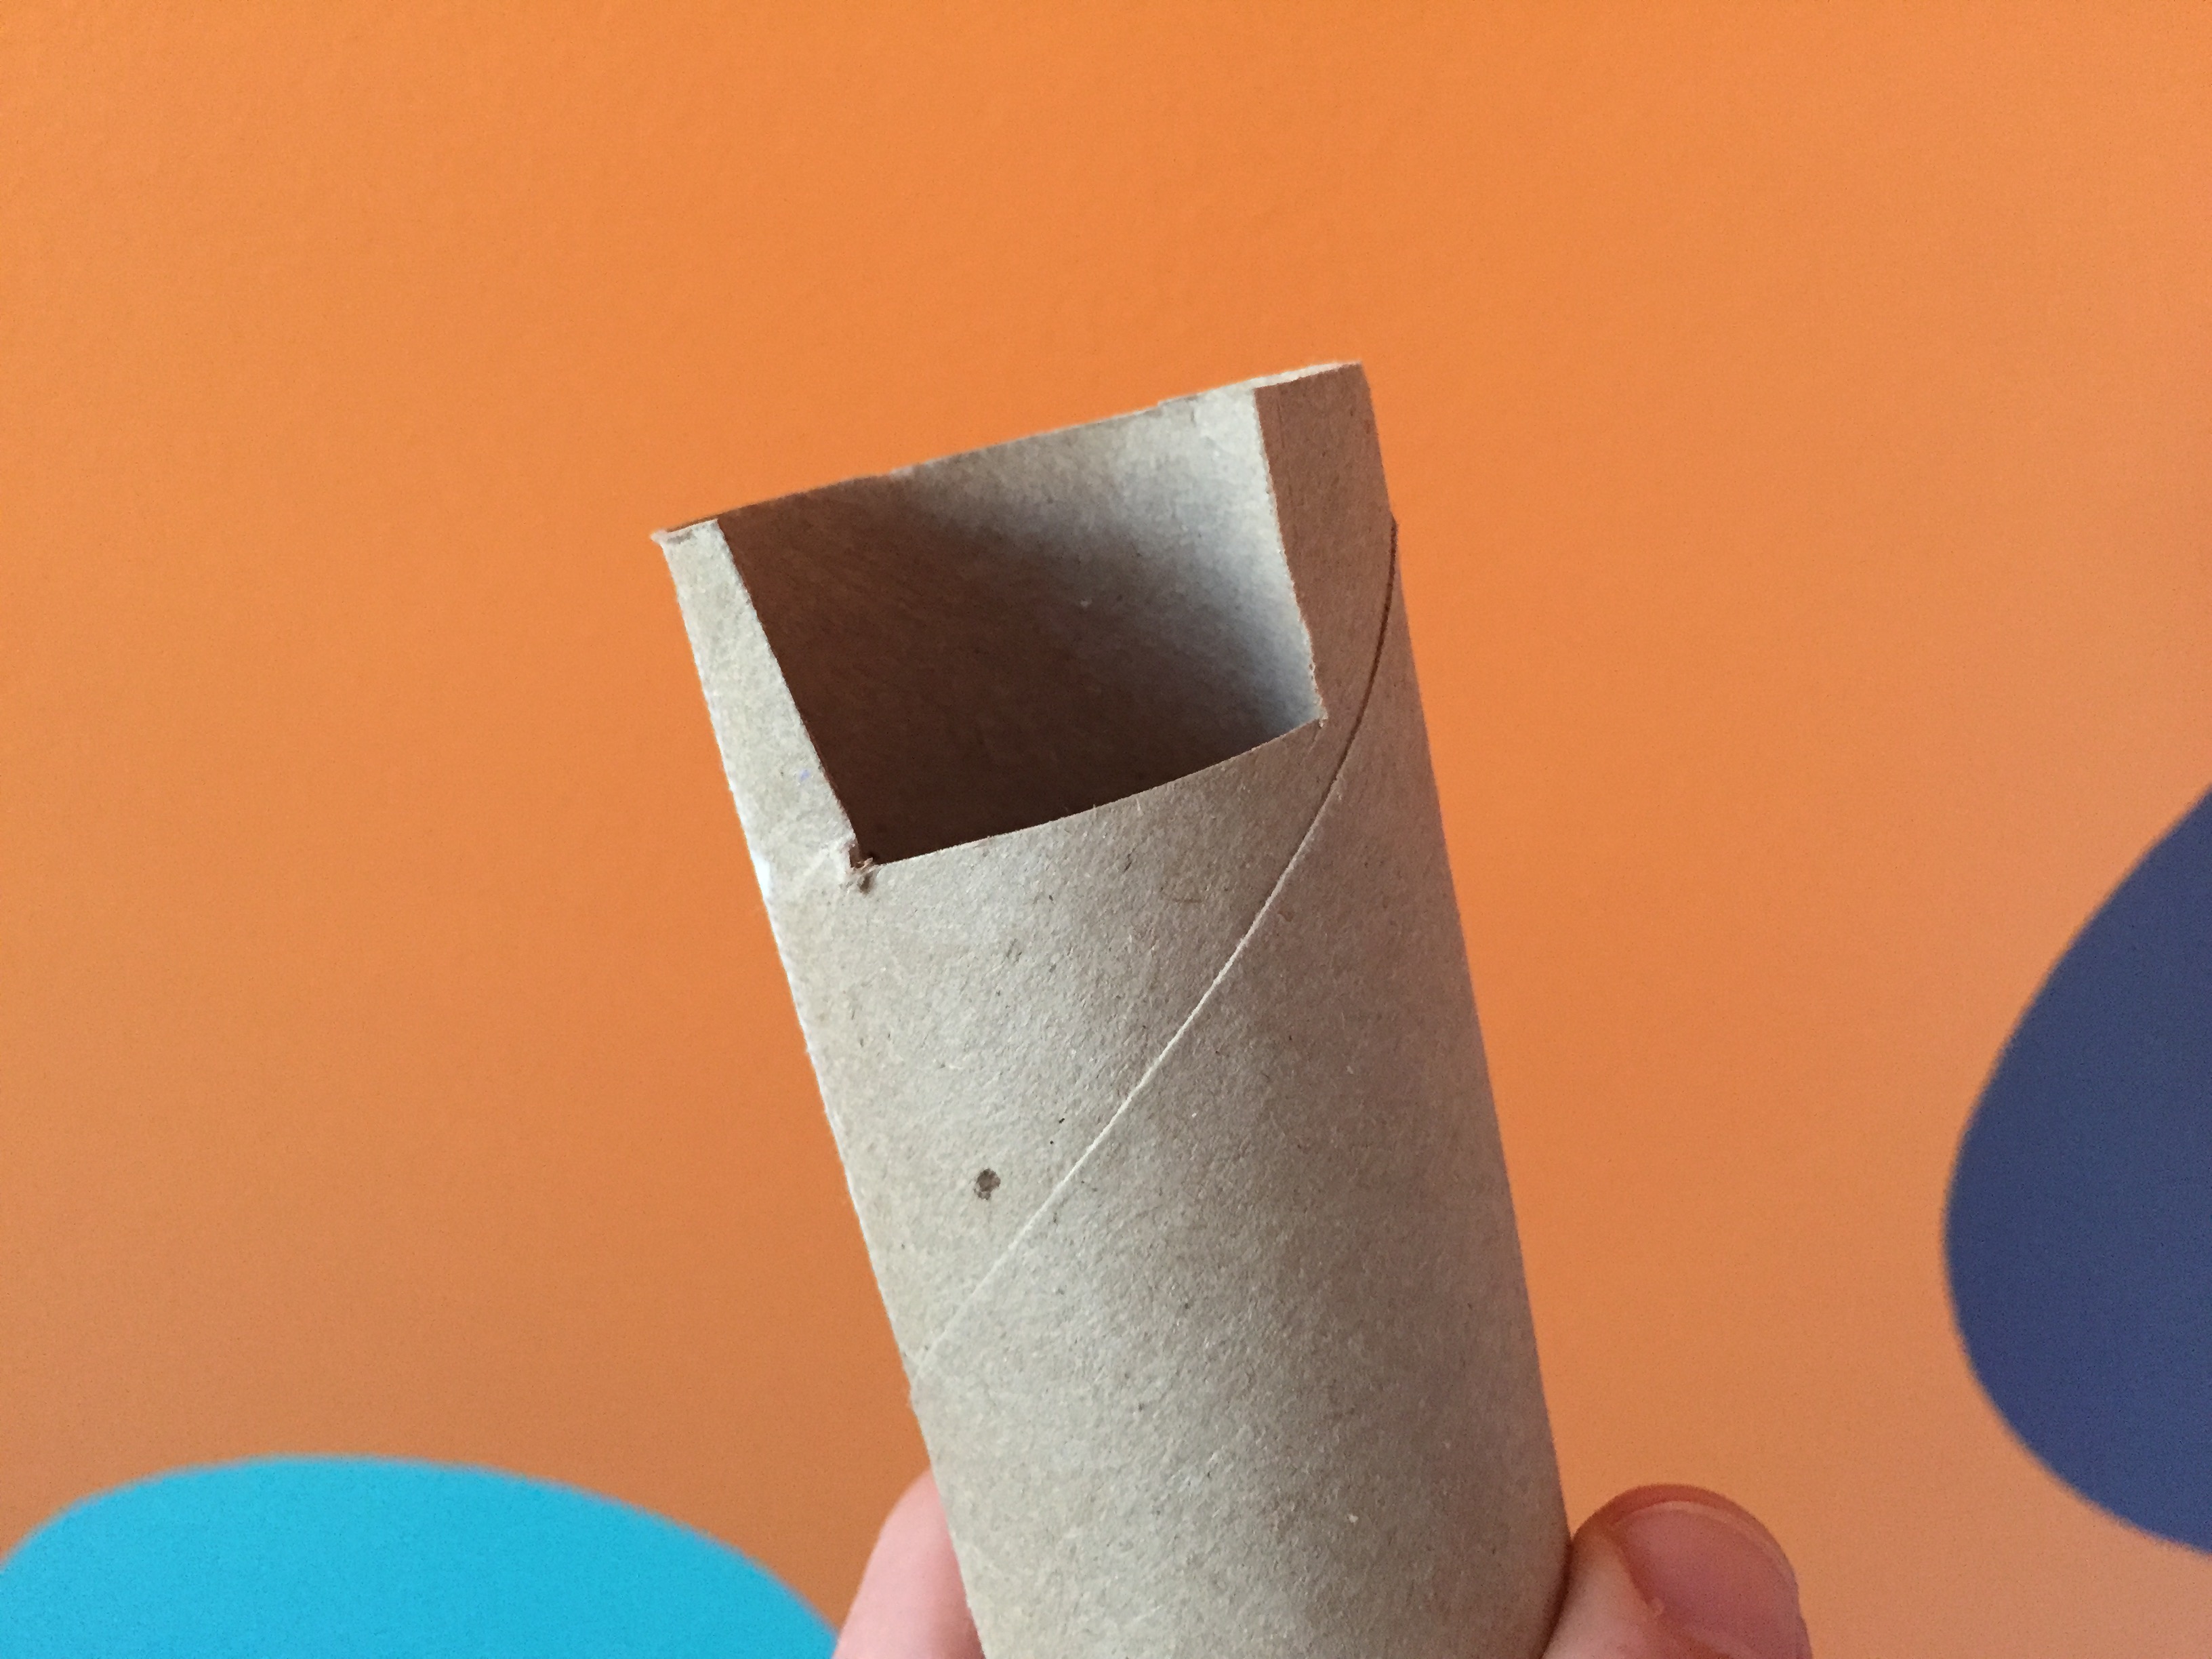
For instance, we had to figure out how exactly to get the marble to drop from one tube into the next, something we initially overlooked. Cutting them in half lengthwise, like a half-pipe, made for a simple drop from chute to chute, but we found the tubes were much harder to tape to the wall that way. Instead, we cut out small notches for the marbles to pass through. We also had to plug the end of a few tubes to stop speeding marbles from launching out the other side.
You can go crazy with incorporating other light objects into the design. We thought about using some kitchen funnels but our marbles wouldn’t fit through the small holes, so we improvised with a plastic milk jug and styrofoam coffee cup. We ended up liking these recycled items way better.
At one point, while my son and I were playing, we noticed that my daughter had ditched us. I figured that she hit her limit and finally got bored with the project. I was wrong! As it turns out, she left to design her own marble run without any help! I love the design she came up with, and how she sometimes has to jiggle one of the tubes when a marble gets stuck. A little more tweaking should solve that problem. This was a super fun project, and I think would appeal to all ages. I sure had fun! If you try it, please send some pictures our way!
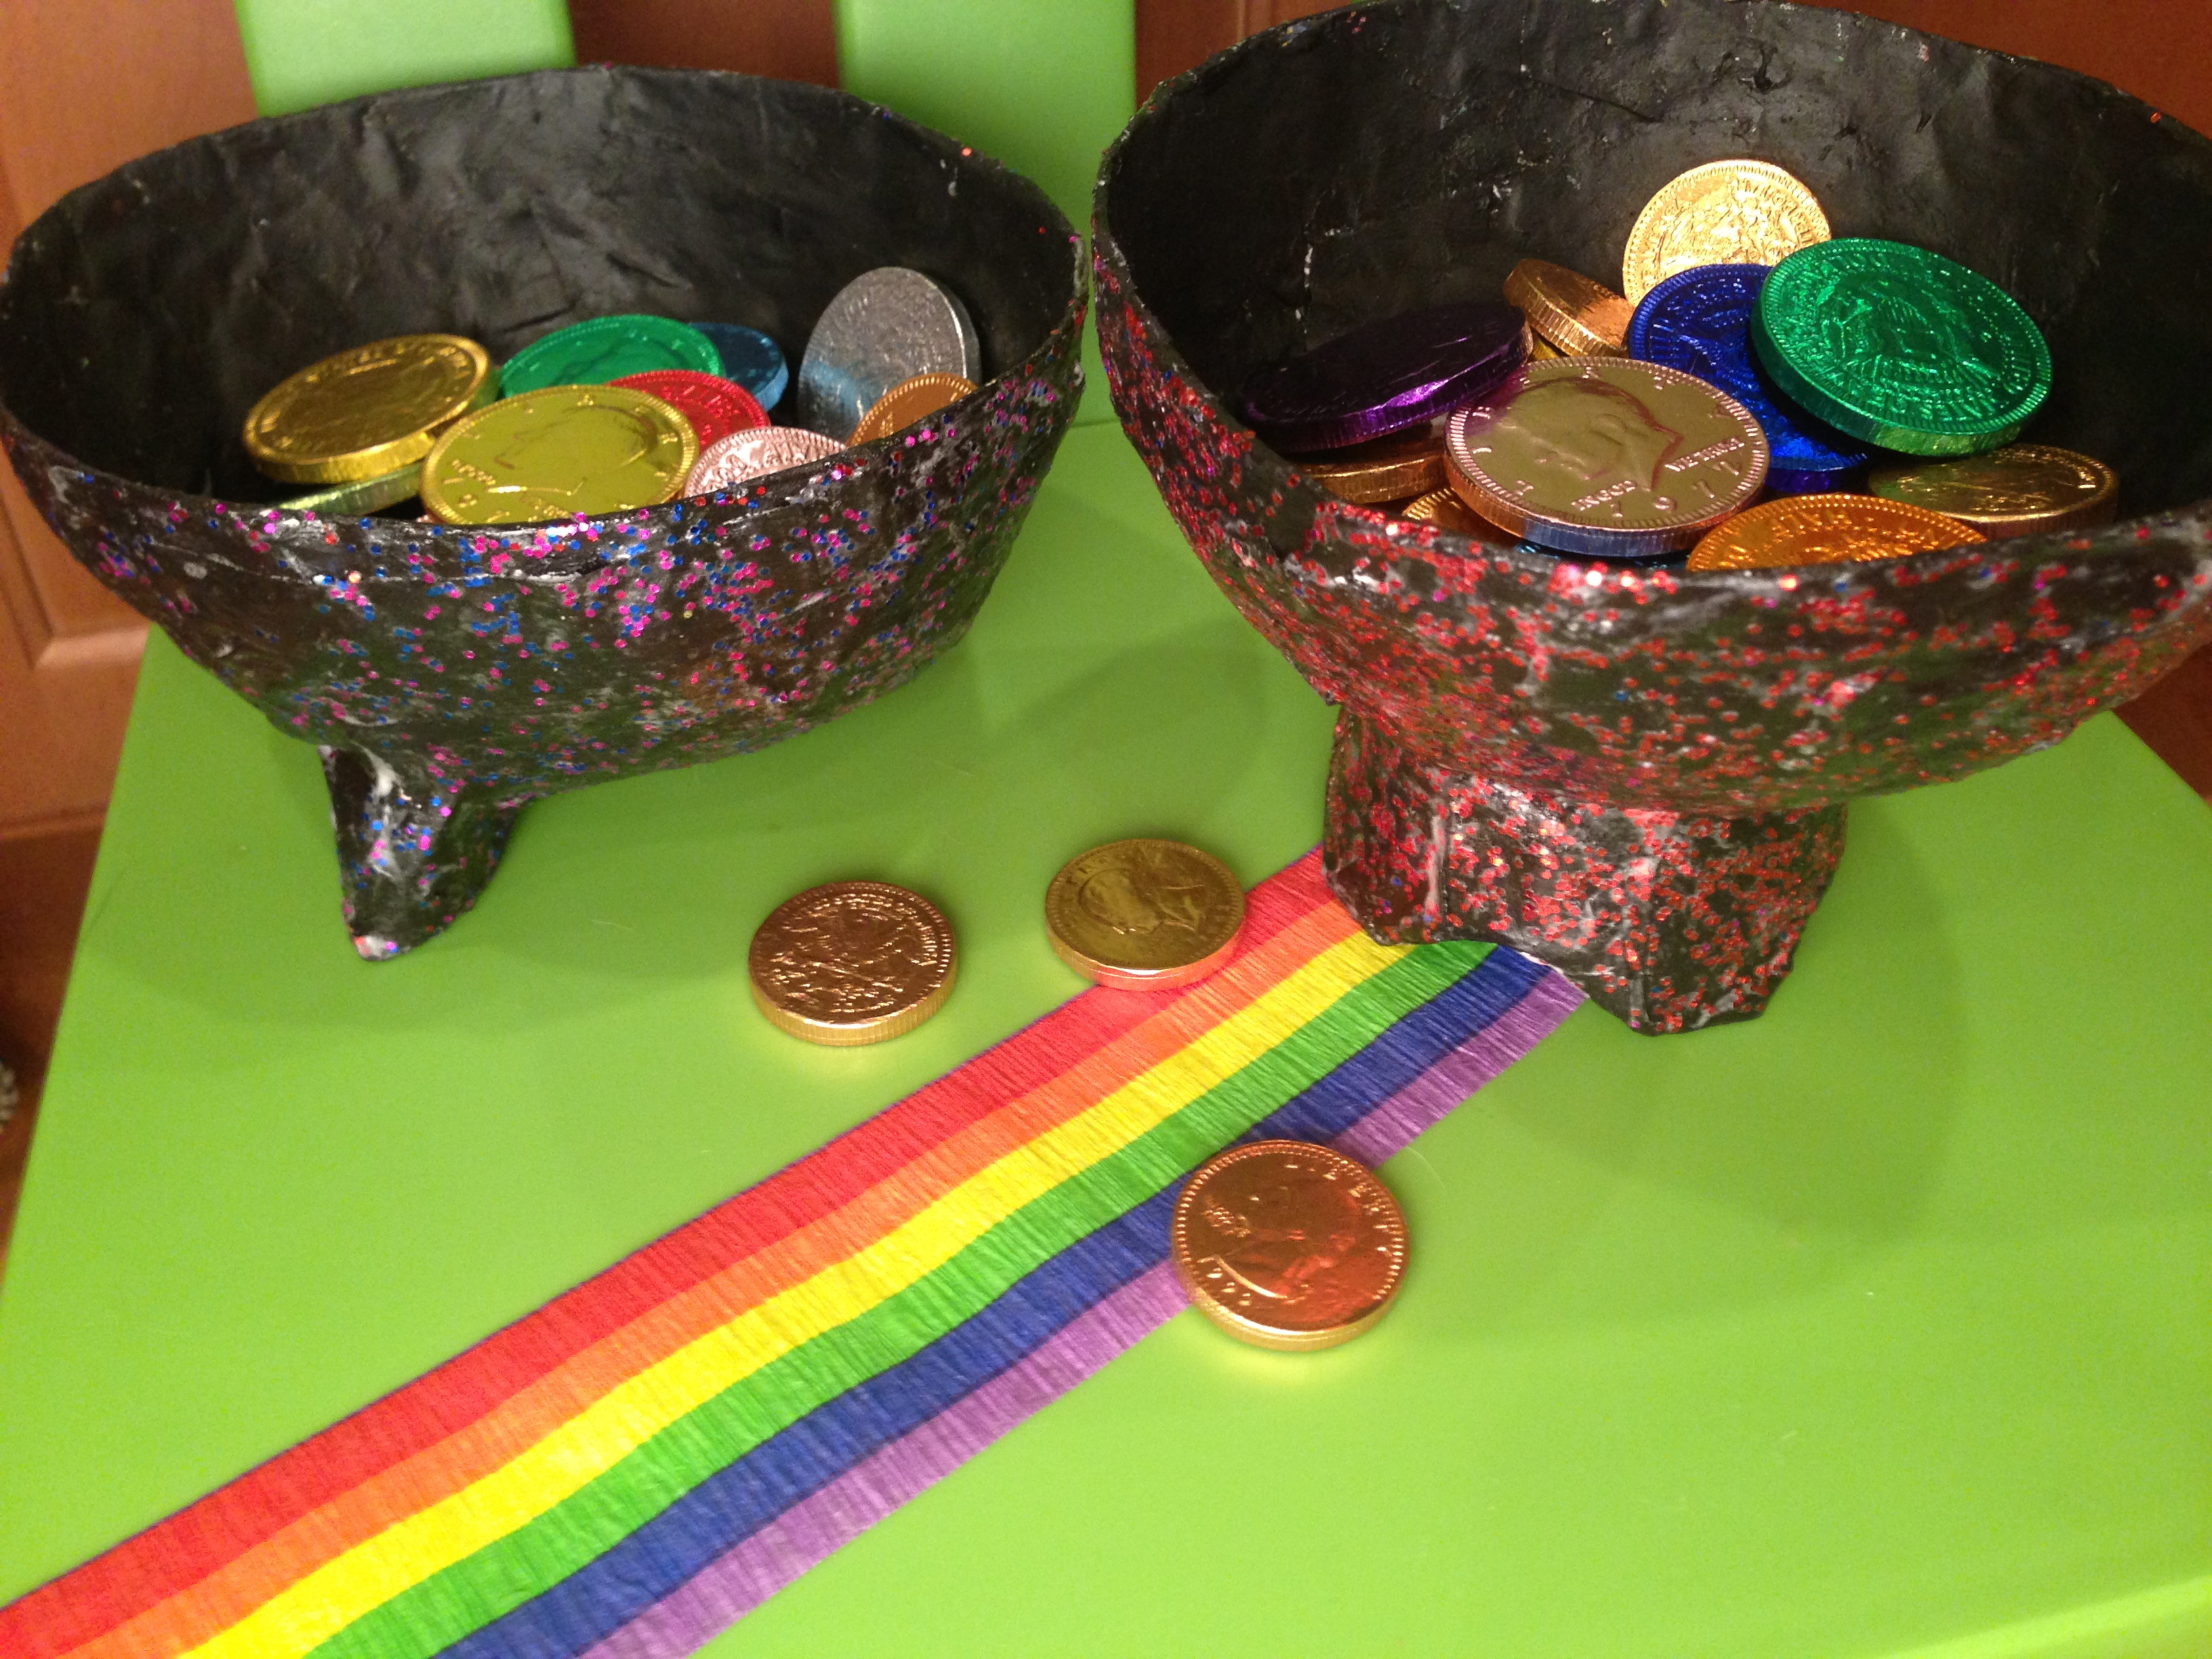
For St. Patty’s Day this year, each of our kids will have to follow a rainbow to their very own Pot O’ Gold! I purchased rainbow-colored crepe streamer from Party City ($1.99) as well as some chocolate gold coins ($.99 per bag plus some additional colored ones at $.10 a piece). Each of the little laddies will have their own rainbow, which they’ll have to follow throughout the house in order to find their Pot O’ Gold.
You can buy little plastic pots or even use small cooking pots if you’d like, but we opted to make our own paper mache pots. We’ve been working steadily on several other paper mache projects, so I just added in a balloon for my daughter to practice on. Once dry, we cut it in half, added legs, painted and glittered them, and voila. She’ll be surprised to see what their paper mache project was actually intended for, and even more surprised to find the edible treasure inside!
When we stopped in a craft store to pick up materials for my Doctor Who scarf project, my daughter found a cute unfinished wooden bird house. Now, my wife and I have been trying desperately to train my daughter against asking to buy something in every single store we step foot into, but this time, I caved. It would be such a perfect little craft project. Better yet, it was only a buck!
She was ecstatic when I told her that we could paint and decorate it, which is kind of funny because she was perfectly happy with it the way it came. When we got home, it was nap time, so she took it to bed with her. An hour later she trudged downstairs, bird house in hand, and with her own impressive bird’s nest on top of her head, and got right to work. She chose to paint it purple (thank you Crayola washable paints!), and once it was dry she squirted some glue on the roof, sprinkled on some glitter, and added a few pom-poms and stickers. It turned out to be a great impromptu craft project, especially for one dollar. After it was complete, we had to hang it up in our back yard, so a little birdie could move in. Still waiting on that little birdie.

 My kids are finally taking an interest in learning how to juggle. They’ve always loved throwing balls around whenever I practice, but they’ve never been interested in practicing the proper techniques until now. The problem is, my favorite juggling balls, the MMX Plus, are too heavy and large for their tiny hands. Instead of buying smaller balls or hacky sacks, I used plans from juggler.org to make several kid-friendly balls. This worked perfectly because I wanted to practice with them while their interest and excitement was high, and together we were able to crank out several balls in about 15 minutes. All you need to make your own juggling balls are balloons, tape, an empty water or soda bottle, and some filler (bird seed, sand, or rice). We used rice and the balls turned out great. Ok, kids, time to practice!